Creating and submitting your artwork
Find all the information you need to create and submit your artwork.
Artwork services:
Our design team can help you create your artwork and make edits to existing artwork files. For inquiries, please contact your Expand contact person or e-mail us at [email protected].
------------------------------------
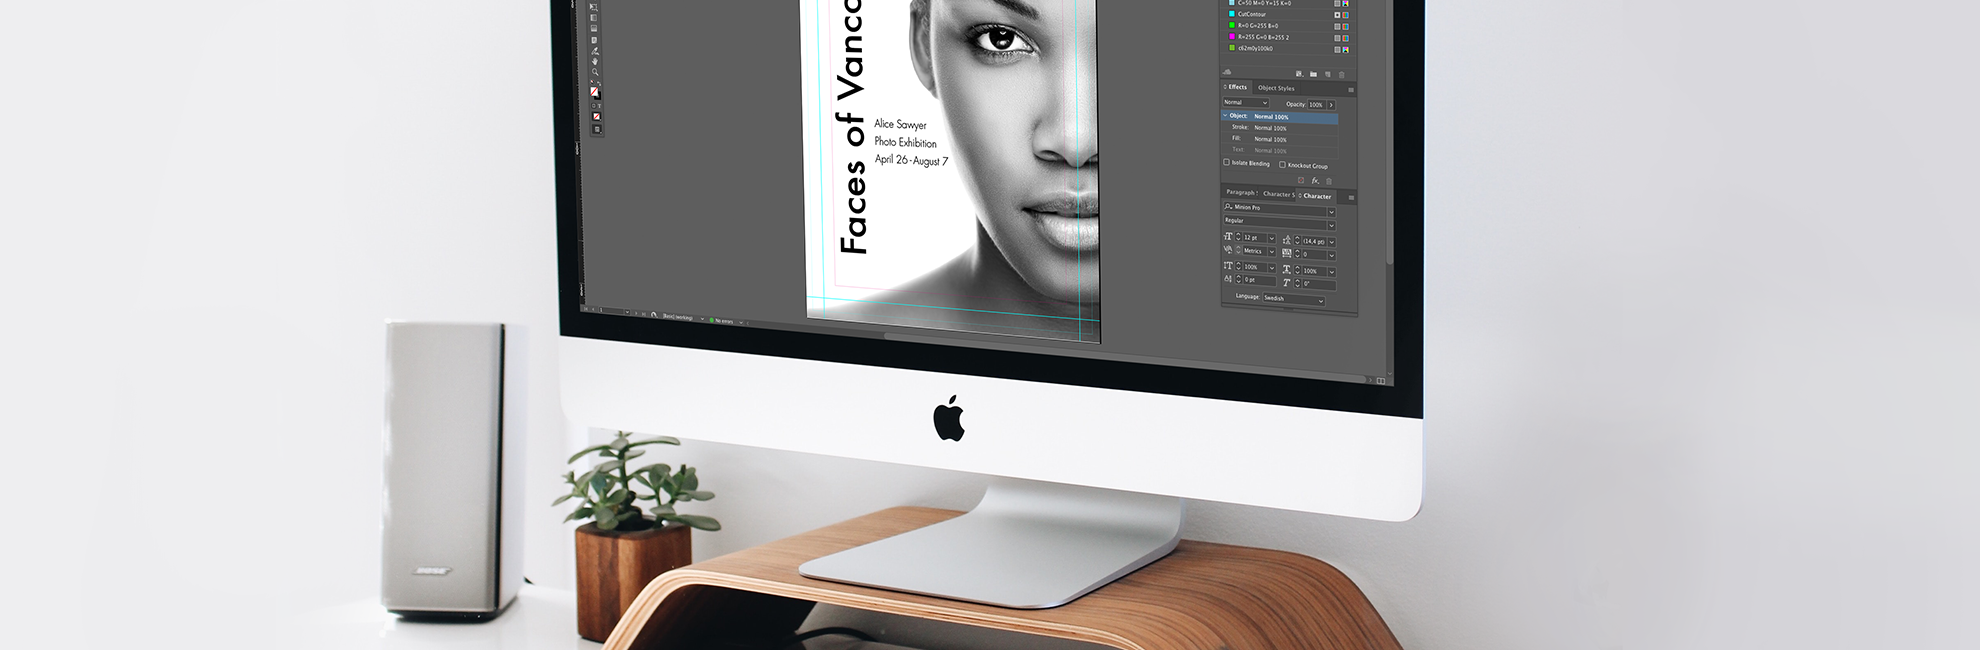
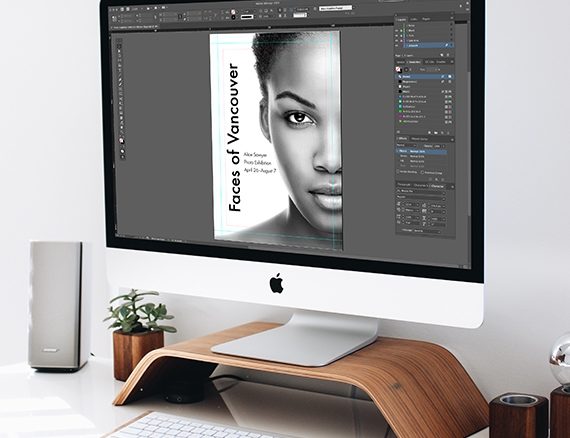
ARTWORK QUICK GUIDE
Color Space and Profiles
• Build exclusively as CMYK color space.
• Ensure that PMS colors are used as spot colors.
• For solid black use CMYK values of 100.100.80.100 (tor the Expand LightBox: use 50.50.50.100)
• RBG files are not acceptable.
File Formatting
• Accepted file formats are pdf, Illustrator, InDesign and Photoshop
• Package files to ensure links are included.
• Flatten transparencies.
• Multiple panel graphics, with critical art alignment, should be supplied as a single file. We will tile graphics for final production.
Fonts, Style and Links
• Outline fonts.
• Images should be between 125-150 dpi at 100% of final size.
• Embed all images in the art.
------------------------------------
Artwork templates
The artwork templates can be found on each product page (scroll down to the section Facts).
Submitting your artwork
Files up to 10Mb: can be sent via e-mail to [email protected]
Files over 10Mb: please upload and send your artwork to [email protected] using WeTransfer
Artwork files
Recommended software:
Illustrator accepted file formats; PDF X/4:2010 and Ai. Package files to ensure that links and fonts are included.
Indesign accepted file formats; PDF X/4:2010 and indd. Package files to ensure that links and fonts are included.
Photoshop accepted file formats; PDF X/4:2010, TIFF, or PSD.
We do not accept files exceeding 1 GB in size.
For the best overall results:
-
Create your artwork in one of the recommended softwares.
-
Submit files as high resolution print ready PDF/X-4:2008 files. The default compression settings must be changed to do not downsample.
-
Leave artwork layer on only. Only include artwork files that are to be printed.
-
If the artwork spans over multiple panels, it must be submitted in mural format to ensure panel lineup. Avoid having text fall on trim lines. Please contact Expand for custom mural templates.
-
Include all Pantone® (Coated and Uncoated) colors in the artwork file as SPOT colors (not process). With the exception of Pantone colors; all other artwork should be submitted in CMYK. Expand does not print in RGB.
-
Images should be built at 125-150 DPI at final size. Making files larger than 150 DPI will not improve image quality; only increase the file size.
-
Final artwork must have all images embedded and all fonts outlined.
-
Do not submit artwork with any layers locked. Locked layers may result in elements of the artwork dropping out.
-
If file(s) exceed 1GB please flatten and/or reduce the DPI and save as a TIFF.
-
If submitting a PDF exported from Indesign, please follow these steps. Choose File > Export and select the Adobe PDF (Print) format. In the general tab, you will select from the Adobe PDF preset drop down > select PDF X/4:2008. In marks and bleeds, select use document bleed settings. Click Export. The bleed settings should be set to the size of the template bleed. No printer marks.
For the best results for products with fabric print:
-
We do not recommend designs with solid or graphic borders around the edges as they may become uneven due to stretching of the fabric during production.
-
We do not recommend use of images or straight lines that span across multiple frames. Artwork placement between two different frames may vary up to 3cm.
-
Avoid fine print that may be difficult to read. Consider typical tradeshow viewing distance of 2-3 meters when planning design.
-
Avoid large areas of white or black. Bright colorful images minimize appearance of frame.
-
In the case of backlit displays avoid large blocks of a solid color as it may look uneven.
-
A solid Black is not achievable in a backlit display. Black should be used as an accent element or text.
-
The same color may look different when printed on different substrate and on different printers.
Layout
Use our artwork templates when you create your layout. The artwork templates can be found on each product page.
Do not alter the template. Altering the template could result in artwork that is the incorrect size or incorrect placement. Our graphics team can provide a custom template with exact finishing specifications if a custom size is required.
Place artwork into the artwork layer of the template.
Most templates are created at 100% size. If templates are in a different size it will be shown in the title of the template.
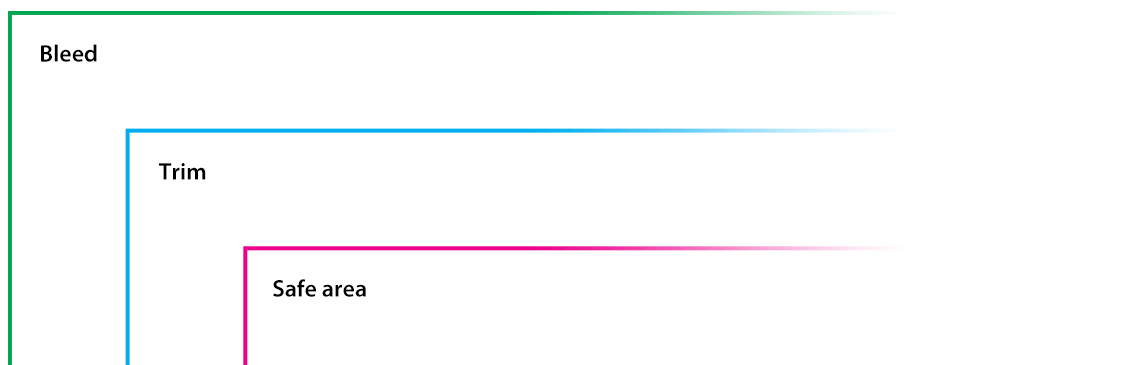
Artwork must extend to the bleed line to fill the template (including cassette bleed).
Keep all critical elements such as text and important images within the safe area. Anything outside this area maybe stitched through, cut off, or fall outside of the visual area.
We do not recommend having text or images across multiple units with fabric print (the Expand GrandFabric and our lightboxes). Expand cannot guarantee exact unit print lineup. If it is required to have images or text across multiple fabric units, please contact your Expand contact, so that we can provide you with a custom mural template. A custom template will allow for the closest possible lineup.
Before saving your file, please be sure to turn off or delete all layers besides the artwork layer.
Overall file size
Files that are 1 GB or larger should be reduced in file size prior to being submitted. To reduce overall file size, please ensure all images are between 125-150 DPI and that any unnecessary layers (those that do not contain PANTONE® information) are flattened. For Photoshop files, we recommend flattening and making them into TIFF files with LZW compression. LZW compression is a lossless compression method, which means that there is no degradation when saving the file.
Colour matching
Pantone® Colours:
Pantone® provides a standardized system of color matching. We recommend using Pantone® colors to ensure an accurate match.
If you would like us to match artwork colours, please use the Pantone® colour in your file. Do not alter the name of the Pantone® colour. Expand only matches to solid coated Pantone®.
Pantone® colour matching is available for most files. We strongly recommend a printed proof for verification of colour.
For more detailed information regarding Pantone® colors please visit www.pantone.com.
Printed Proof
For confirmation of colour and image quality, we offer printed proofs. Each printed proof you order is printed on the substrate your final graphic will be printed on. The printed proof will be a small full graphic and a 100% section of the graphic. For information on pricing and turn-around times regarding our printed proofs, please contact your Expand contact person.
Sample Print or Match Print
You may also choose to provide a sample print or match print, such as a brochure or piece of fabric, so that we have a reference to match to. Please note: we cannot color match a gradient or a flattened image. For more detailed information regarding where to send your sample print, please contact your Expand contact person.
Rich black
Expand Rich Black Color Build: C = 100, M = 100, Y = 80, K = 100 (for the Expand LightBox: use C = 50, M = 50, Y = 50, K = 100).
Both fabrics and inkjet prints require this colour build for a rich black. Other colour builds are accepted, but we have found this colour build produces the best results for our equipment. If this colour build is not applied to your artwork, we cannot guarantee a rich black. Please note: a CMYK build of 0, 0, 0, 100 will not print as a true black, more as dark grey.
Ordering a custom graphic
For a non-Expand brand of hardware you will need to provide either a template, printed graphic, or the frame so that we may measure it. We will print and trim the final graphic to the exact specifications listed in the order. We cannot be held responsible if the graphics do not fit the hardware unless we have the hardware in hand to test fit.
We can also produce custom graphics per specifications provided in your order. Please contact your Expand contact person for more details.
Download Artwork submission guidlines (pdf)